The best part about using a hammock other than how ridiculously comfy they are to lie in? They’re easy to set up, a great way to enjoy nature, and leave no trace. Continue reading to learn about the benefits of hammocking along with a step-by-step guide to setting up your hammock like a pro.
The Benefits of Hammocks
Mariah turns herself into a human hammock burrito.
People have been sleeping in hammocks for hundreds of years, and hammock users have long been vocal about the health benefits they experience after using them. But, only recently has science been able to back up the hammock lovers’ claims. How are hammocks beneficial? Here are 5 reasons to start using and napping in your hammock.
- They are easy to set up
- They reduce stress
- They help alleviate back pain
- They put you in an automatic state of meditation when lying down
- The swaying motion helps you have a deeper sleep
Have I convinced you to dust off or go purchase your own hammock yet? Well, here’s one last benefit of hammocking – you can also use it to turn yourself into a human burrito. See the photo to the right for reference.
A Guide to Hammocking
For all of you first time hammock users, here’s our official step by step guide to hammocking. To be honest, I’m also not really sure that hammocking is a word. But, I’m going to keep using it.
 First, you’ll need to find a place to set up your hammock. I recommend finding a nice spot at your favorite Lynchburg park, especially if you lack a backyard or tree space like many of us downtown dwelling Lynchburgers. Lynchburg has 15 beautiful parks that you can choose from, so head outside and start scoping out your new hammock oasis! Personally I spend a lot of time at Miller Park, so we (myself and Mariah the intern) chose to set up our ENO Double Nest hammock between a nice set of trees near the picnic shelter there.
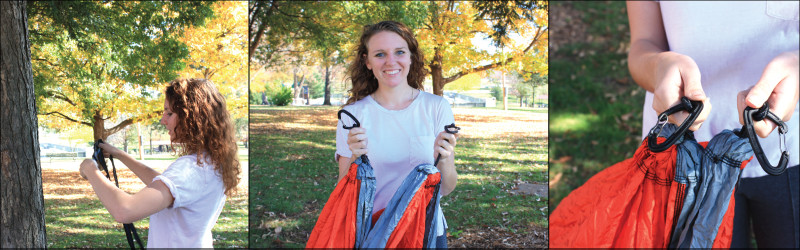
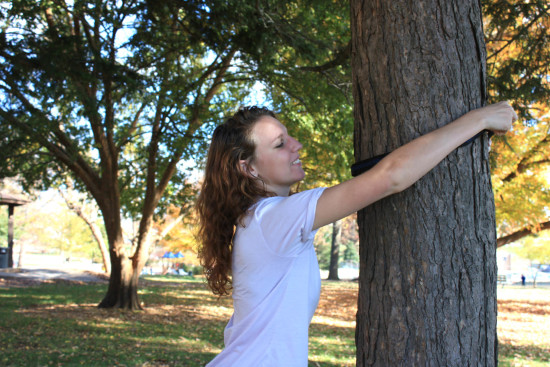
For the set up, identify some sturdy trees close enough together to hang your hammock from. Please keep in mind that the Lynchburg Park Rules state that “the collection, destruction, and/or removal of plants, animals, minerals, or historical/cultural items are strictly forbidden”, so you’ll want to hang your hammock around the thickest part of a tree rather than a branch or any other object that could easily break. I normally go for the larger bodied trees when hammocking because I know that there is no way that my small hammock plus my body weight could bring those suckers down. Safety first, friends.
 When hanging your hammock, the easiest way to do so is to use suspension straps that essentially tie around the body of a tree. An example of this type of set up is the Atlas Supsension System from ENO. These straps are great because they are made out of a 1” Poly-Filament Webbing that wrap around the tree and minimize girdling and damage to the bark and cambium layer, which can cause wood tissue death. We’re all about #savingthetrees at Parks & Rec.
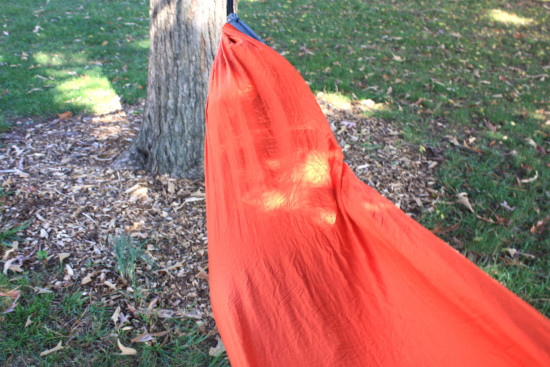
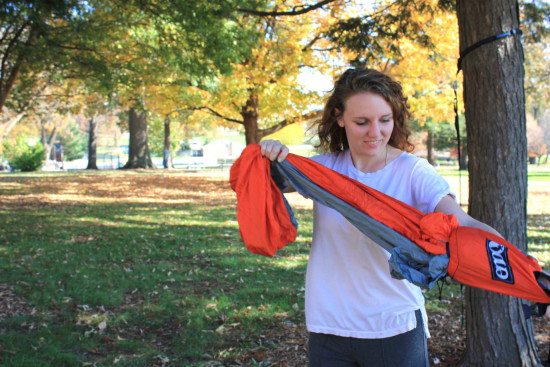
In addition to leaving no trace on the tree, suspension straps can also be set up easily in about 30 seconds. All you need to do is take one end of the strap through the loop of the other end and pull it tight (see the photo to the left).
 Once you’ve hung both straps around your chosen trees, you’ll move on to the actual hanging of your hammock. Rest assured, the majority of the next instructions are pretty obvious, and you can’t really go wrong.
First, you’ll unravel or unpack your hammock from its bag. I have an ENO Double Nest, which is super easy to unravel and then rolls into itself to pack away. If you’ve ever packed a sail from a sailboat you’ll know what I’m talking about. This is a great feature because it eliminates the need for an additional bag to carry the hammock in, and the hammock also clips right onto my backpack for easy carrying. Side note: I promise this blog is not sponsored by ENO in any way. I just really love their products and may be a bit biased. #ENOLoverForLife
 Next, take the two carabiners on either end of the hammock and attach them to the loops on the suspension straps. Choosing the loops to hang from is a bit tricky because you’ll want to make sure your hammock will hang high enough off of the ground that so you can sit or lie in it comfortably. So, what I’m really saying is that you’re going to have to eye-ball it. I can’t tell you how many times I’ve hung my carabiners at the “perfect height” just to find my rear end hitting the ground beneath me. For all hammocking purposes, I usually go for 2.5-3 feet of clearance between the hammock and the ground. Some people look to hang higher, but it’s all about your preference.
Either way, make sure to figure out what you prefer and take note on which loops you should hang your carabiners on to get you there. Tree distance and tree body size will come into the equation here, but by the time you’ve venture on to new hammocking spots, you should have this step down. Also, these things are sometimes a pain to get out of, so you want to make sure you have enough room beneath you to get your legs sturdily on the ground for quick exiting.
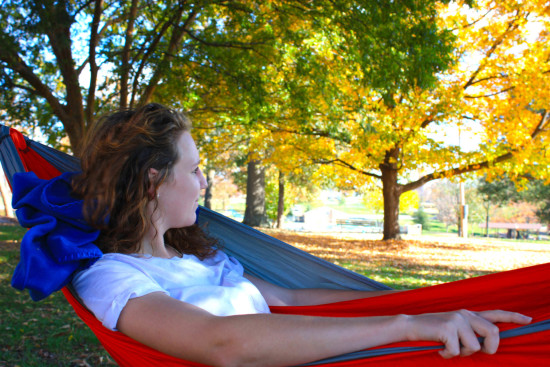
 Once you’ve successfully attached the carabiners to the straps and checked that your hammock is hanging at a good height, go ahead and jump in that sucker! Whether you’re looking for a nice place to read or sit, or you’re planning to take a beautifully relaxing cat nap, your hammock should treat you well.
I also recommend purchasing a hammock pillow (or inflatable pillow) from your local camping store to keep with you for all of your hammocking purposes. They come in handy when reading or doing work from your hammock and keep from intense neck cramps. I also keep a spare blanket with me for napping and cold weather hanging.
For more information on hammocking and hammock camping, check out the ENO blog. You can also find a lot of other great resources online or in print. We hope to see you and your hammock out in our Lynchburg Parks soon!